Microsoft Excel® is a very popular tool for analyzing and visualizing data. Follow these instructions to create an Excel workbook with a link to public data from any Data & Insights-powered website.
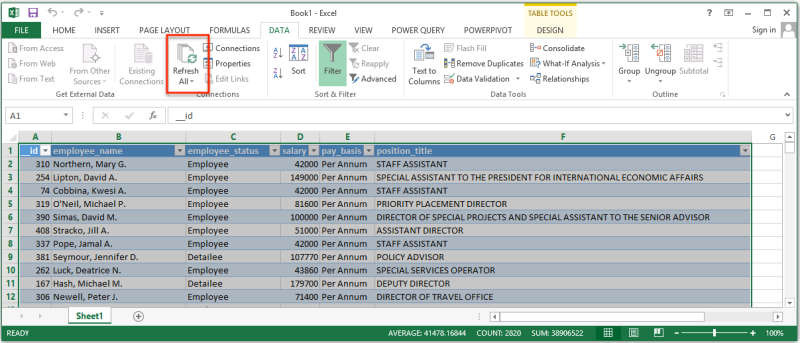
Because Excel maintains an active link to the data, all you need to do to refresh your workbook with the latest data is click the “Refresh All” button in the Excel ribbon.
Finding a dataset’s OData URL
Every dataset has a unique OData URL. To access the endpoint through Data & Insights Primer, select the Actions button on the top right of the screen. This will open up a drop-down where you can select Access via oData. This will bring up a pop-up screen which will contain the OData Endpoint for the dataset. You can click on the OData box to choose either the V2 or the V4 endpoint.
Accessing Data & Insights data using Power Query for Microsoft Excel
Data & Insights OData connections are only available through Microsoft Power Query. Power Query for Microsoft Excel provides more querying capabilities than Excel’s default Data tab. Here’s how you can use Power Query to create a link to a Data & Insights dataset.
Step 1: Install the Power Query feature
If you are using Excel 2016, you can skip this step (Power Query is built into Excel 2016 as part of the Get & Transform tool).
Download and install the latest version of Microsoft Power Query. You’ll need an installed version of Office 2010 Professional Plus, 2013 Professional Plus, Office 365 ProPlus, or a standalone edition of Excel 2013.
Step 2: Select the “Power Query” ribbon
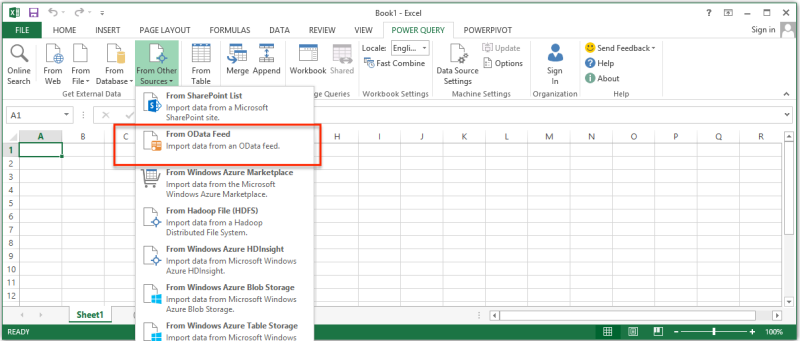
In Excel 2016 from the Data Ribbon under Get & Transform choose New Query > From Other Sources > From OData Feed:
In Excel 2010 and Excel 2013 from the Power Query Ribbon, choose Get External Data > From Other Sources > From OData Feed:
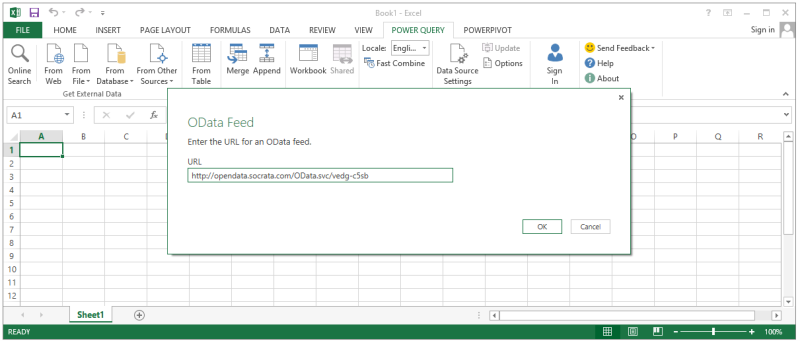
Step 3: Paste the OData endpoint link into the dialog box that appears and click “Ok”
When accessing private datasets you will be prompted to authenticate your credentials in order to view the data. In the window provided select "Basic" and enter your Data & Insights username and password.
Step 4: Shape the data using Power Query
Note that you will want to use the column header to expand complex types like Locations and Website URLs. When finished, click Apply and Close.
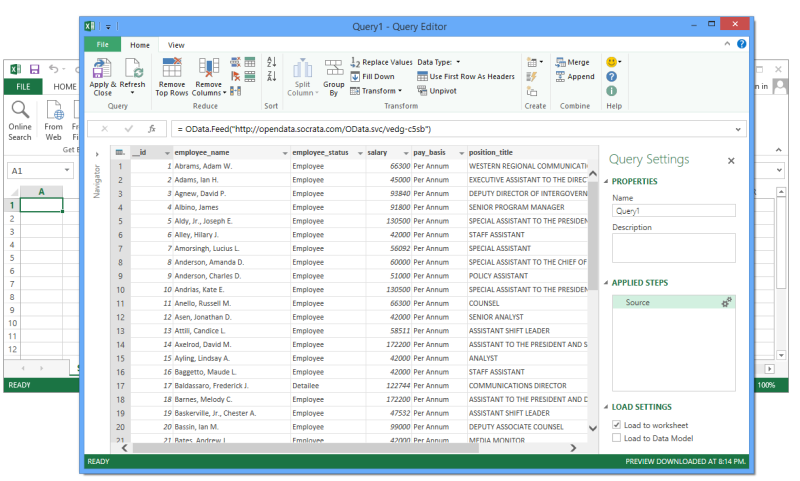
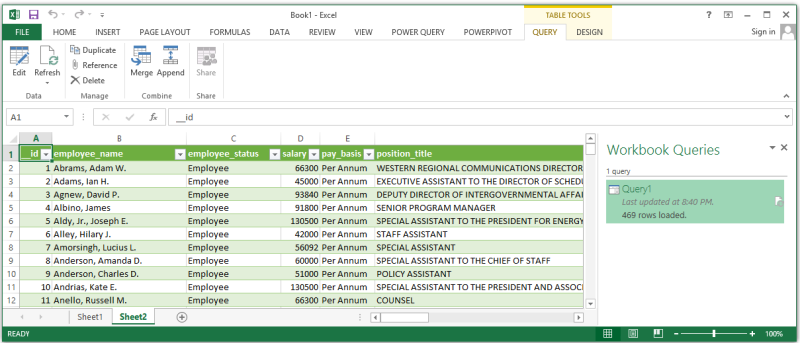
Result: Your data will appear in a table in Excel
Comments
Article is closed for comments.